Quickstart
Two commands put you in the editor:
The browser opens to the home screen. Everything below happens in it.
The home screen
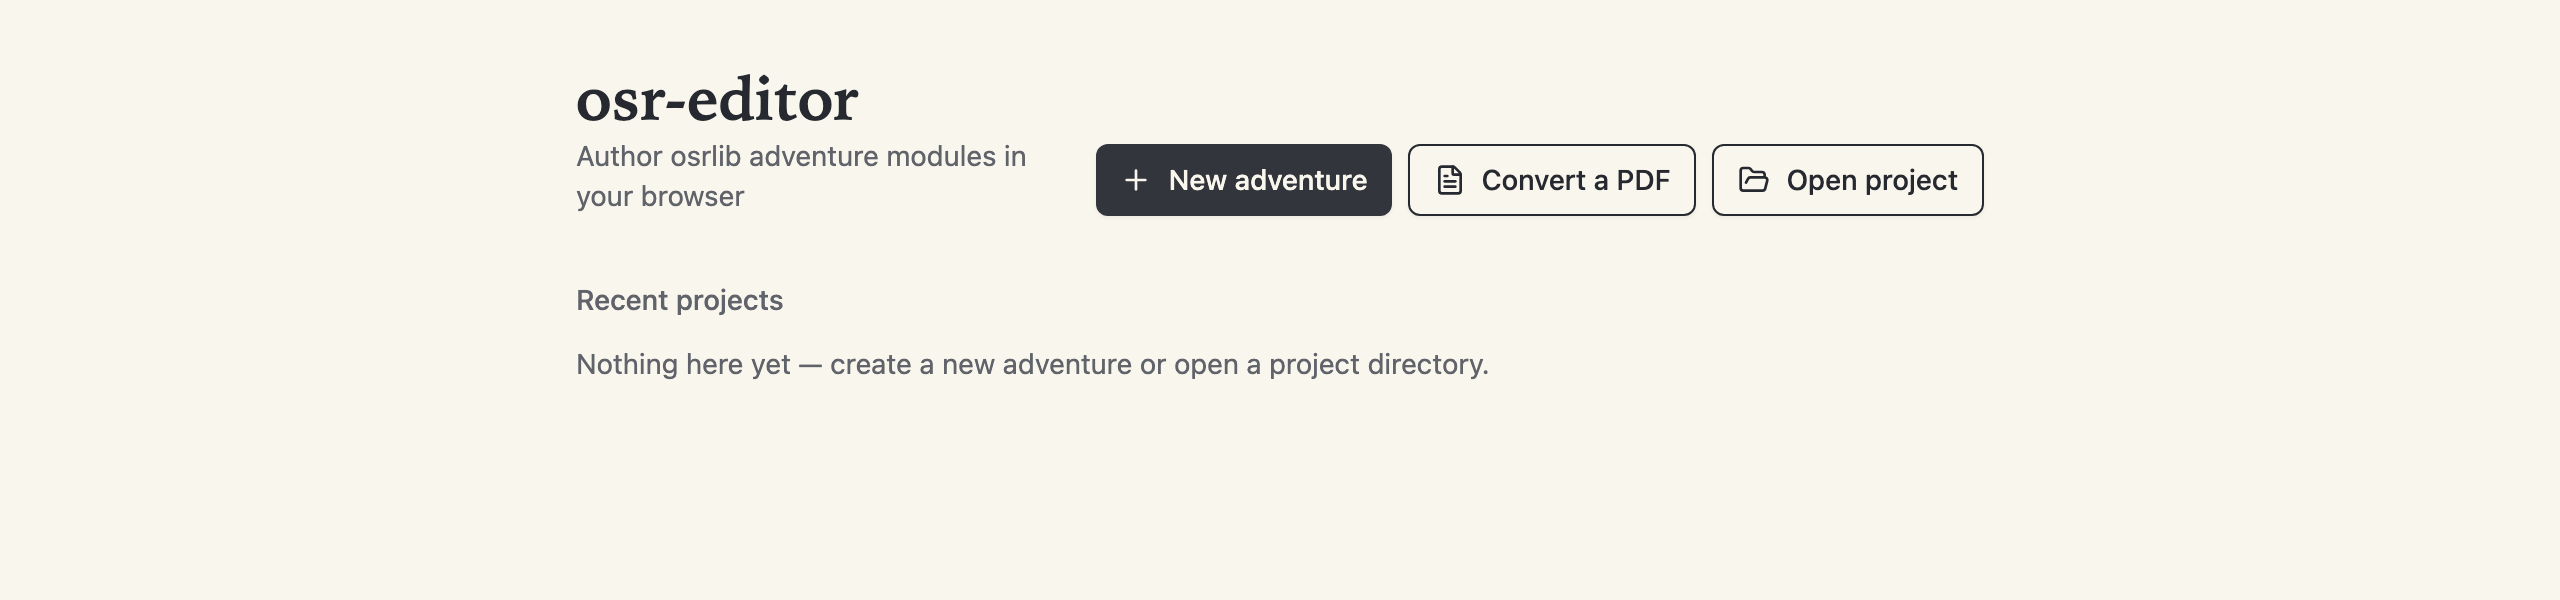
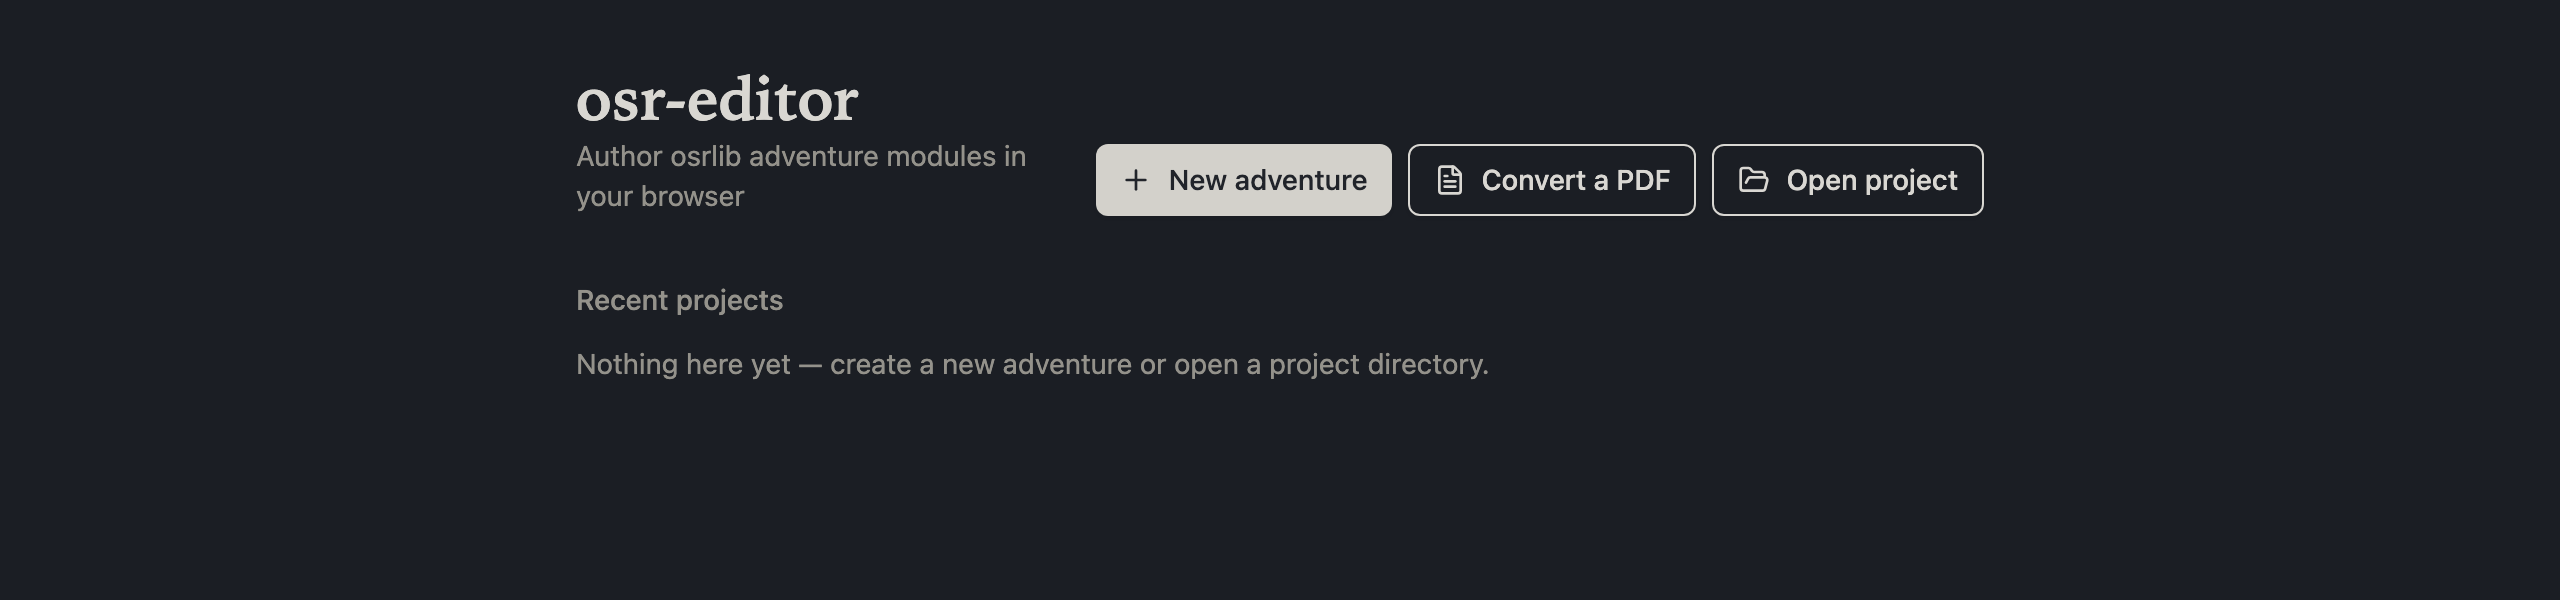
The home screen offers your recent projects, New adventure, Open project, and Convert a PDF. Pass a project directory on the command line — osr-editor ~/adventures/mill.osr — to skip the home screen and open it straight away.
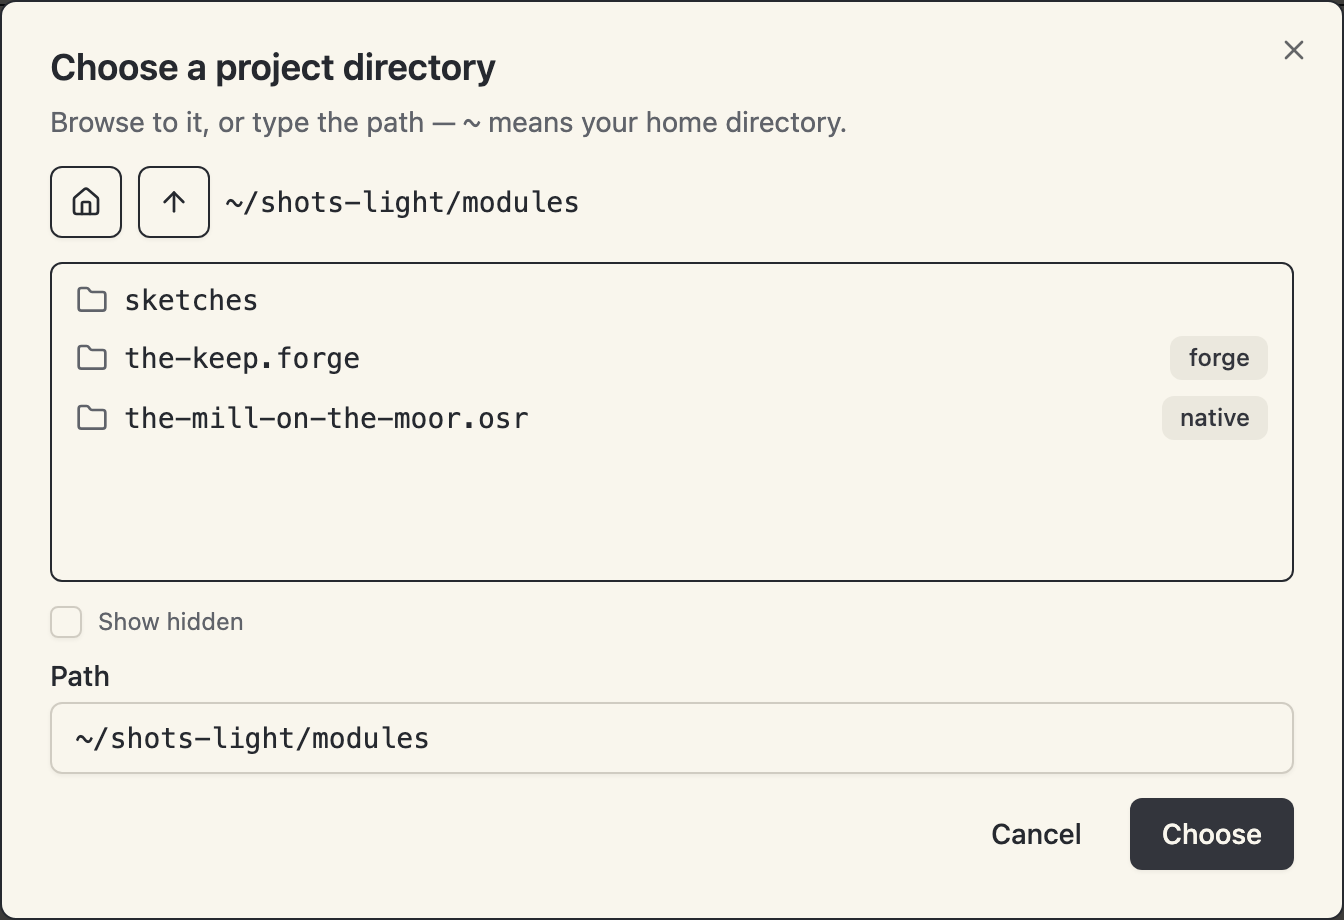
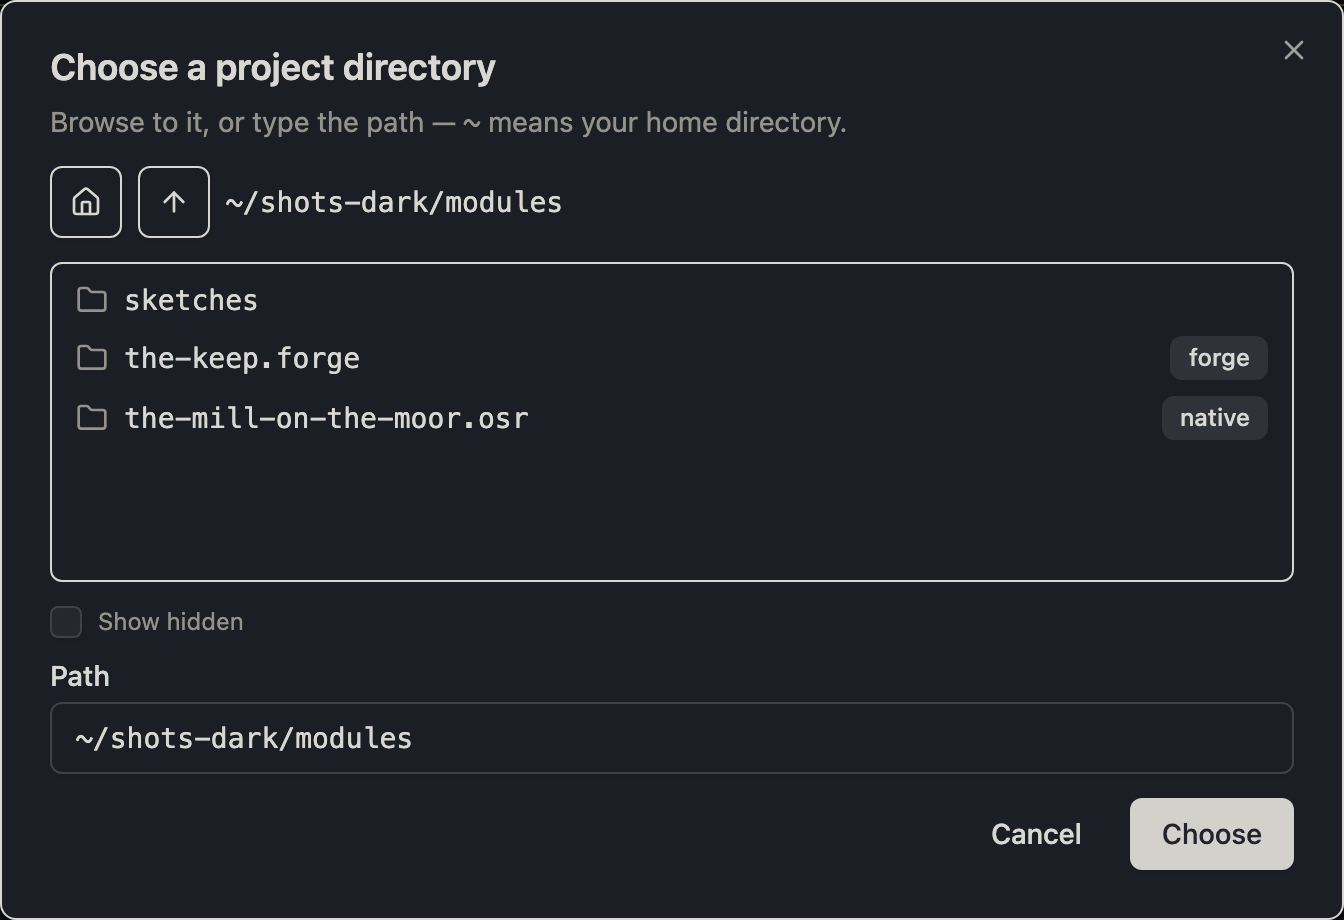
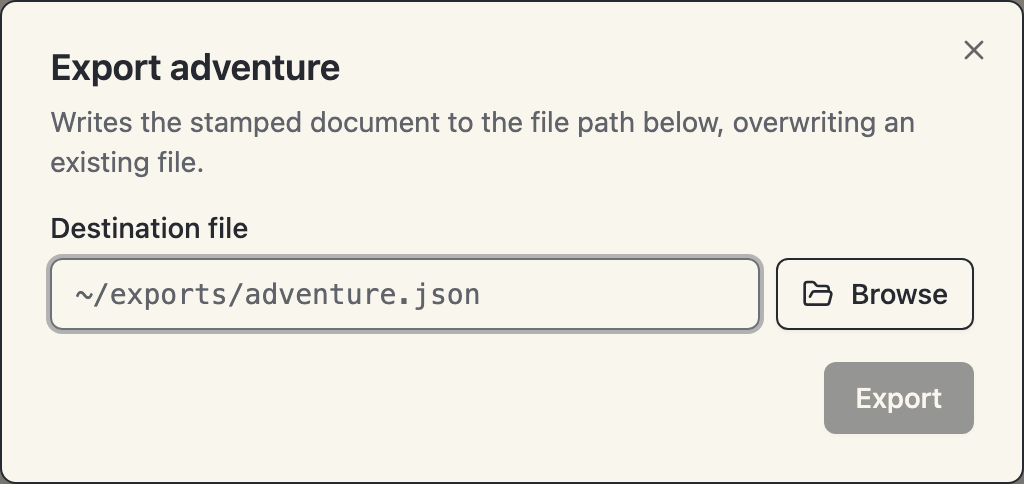
Every path field in the editor works the same two ways: type the path — ~ means your home directory — or press Browse and navigate to it. The picker marks which directories are already projects, so you can tell a native project from a forge workdir before you open one, and you can name a destination that does not exist yet by typing it in the picker's own path box. Each field remembers where it was last used and reopens there, so the export picker starts where you keep exports and the project picker where you keep projects.
A first adventure
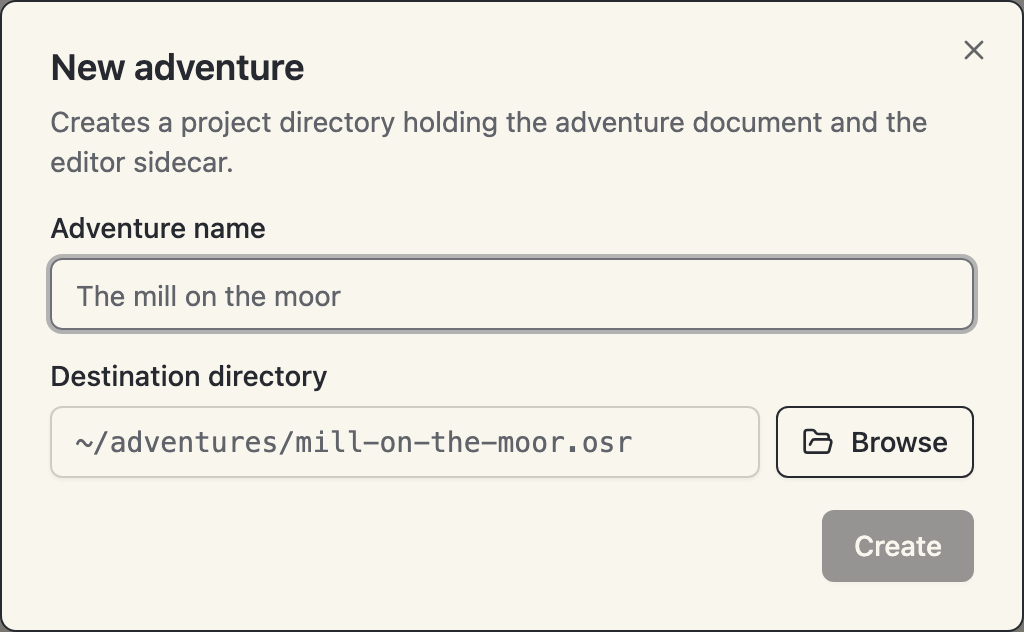
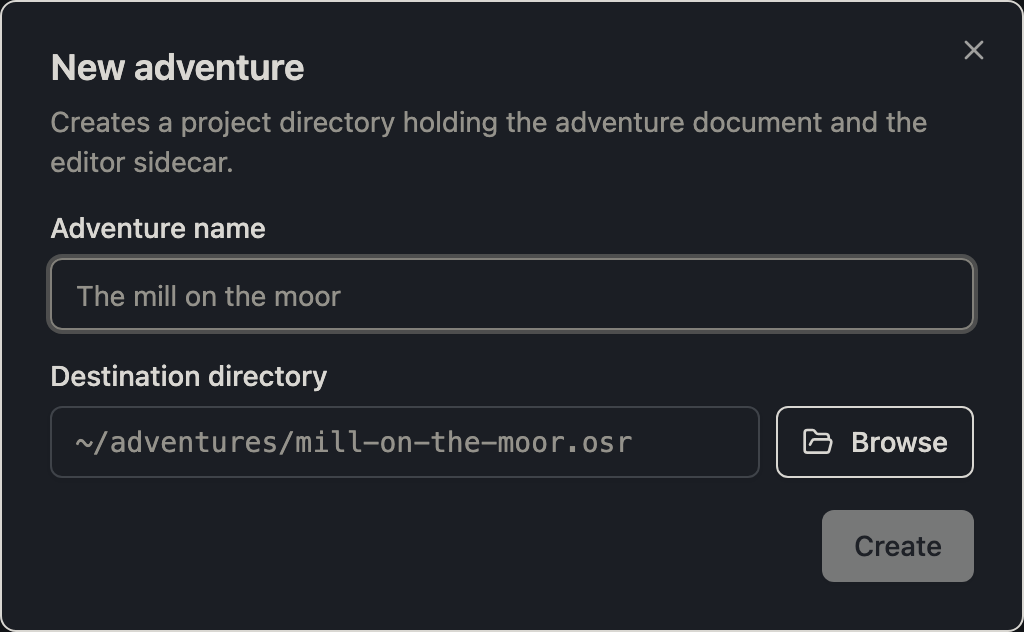
New adventure asks for two things: the adventure's name and a destination directory. Create it, and the editor writes a project directory holding the adventure document (adventure.json) and the editor's sidecar (editor.json), then opens the project. That directory is the whole project — copy it, back it up, or put it in git.
From here the editor is always saved: every edit you commit persists to adventure.json immediately, canonically serialized, and every commit is one undo step. There is no save button to forget.
The Adventure and Town sections hold the module's prose — description, hooks, the town — and the map holds everything spatial.
A first room
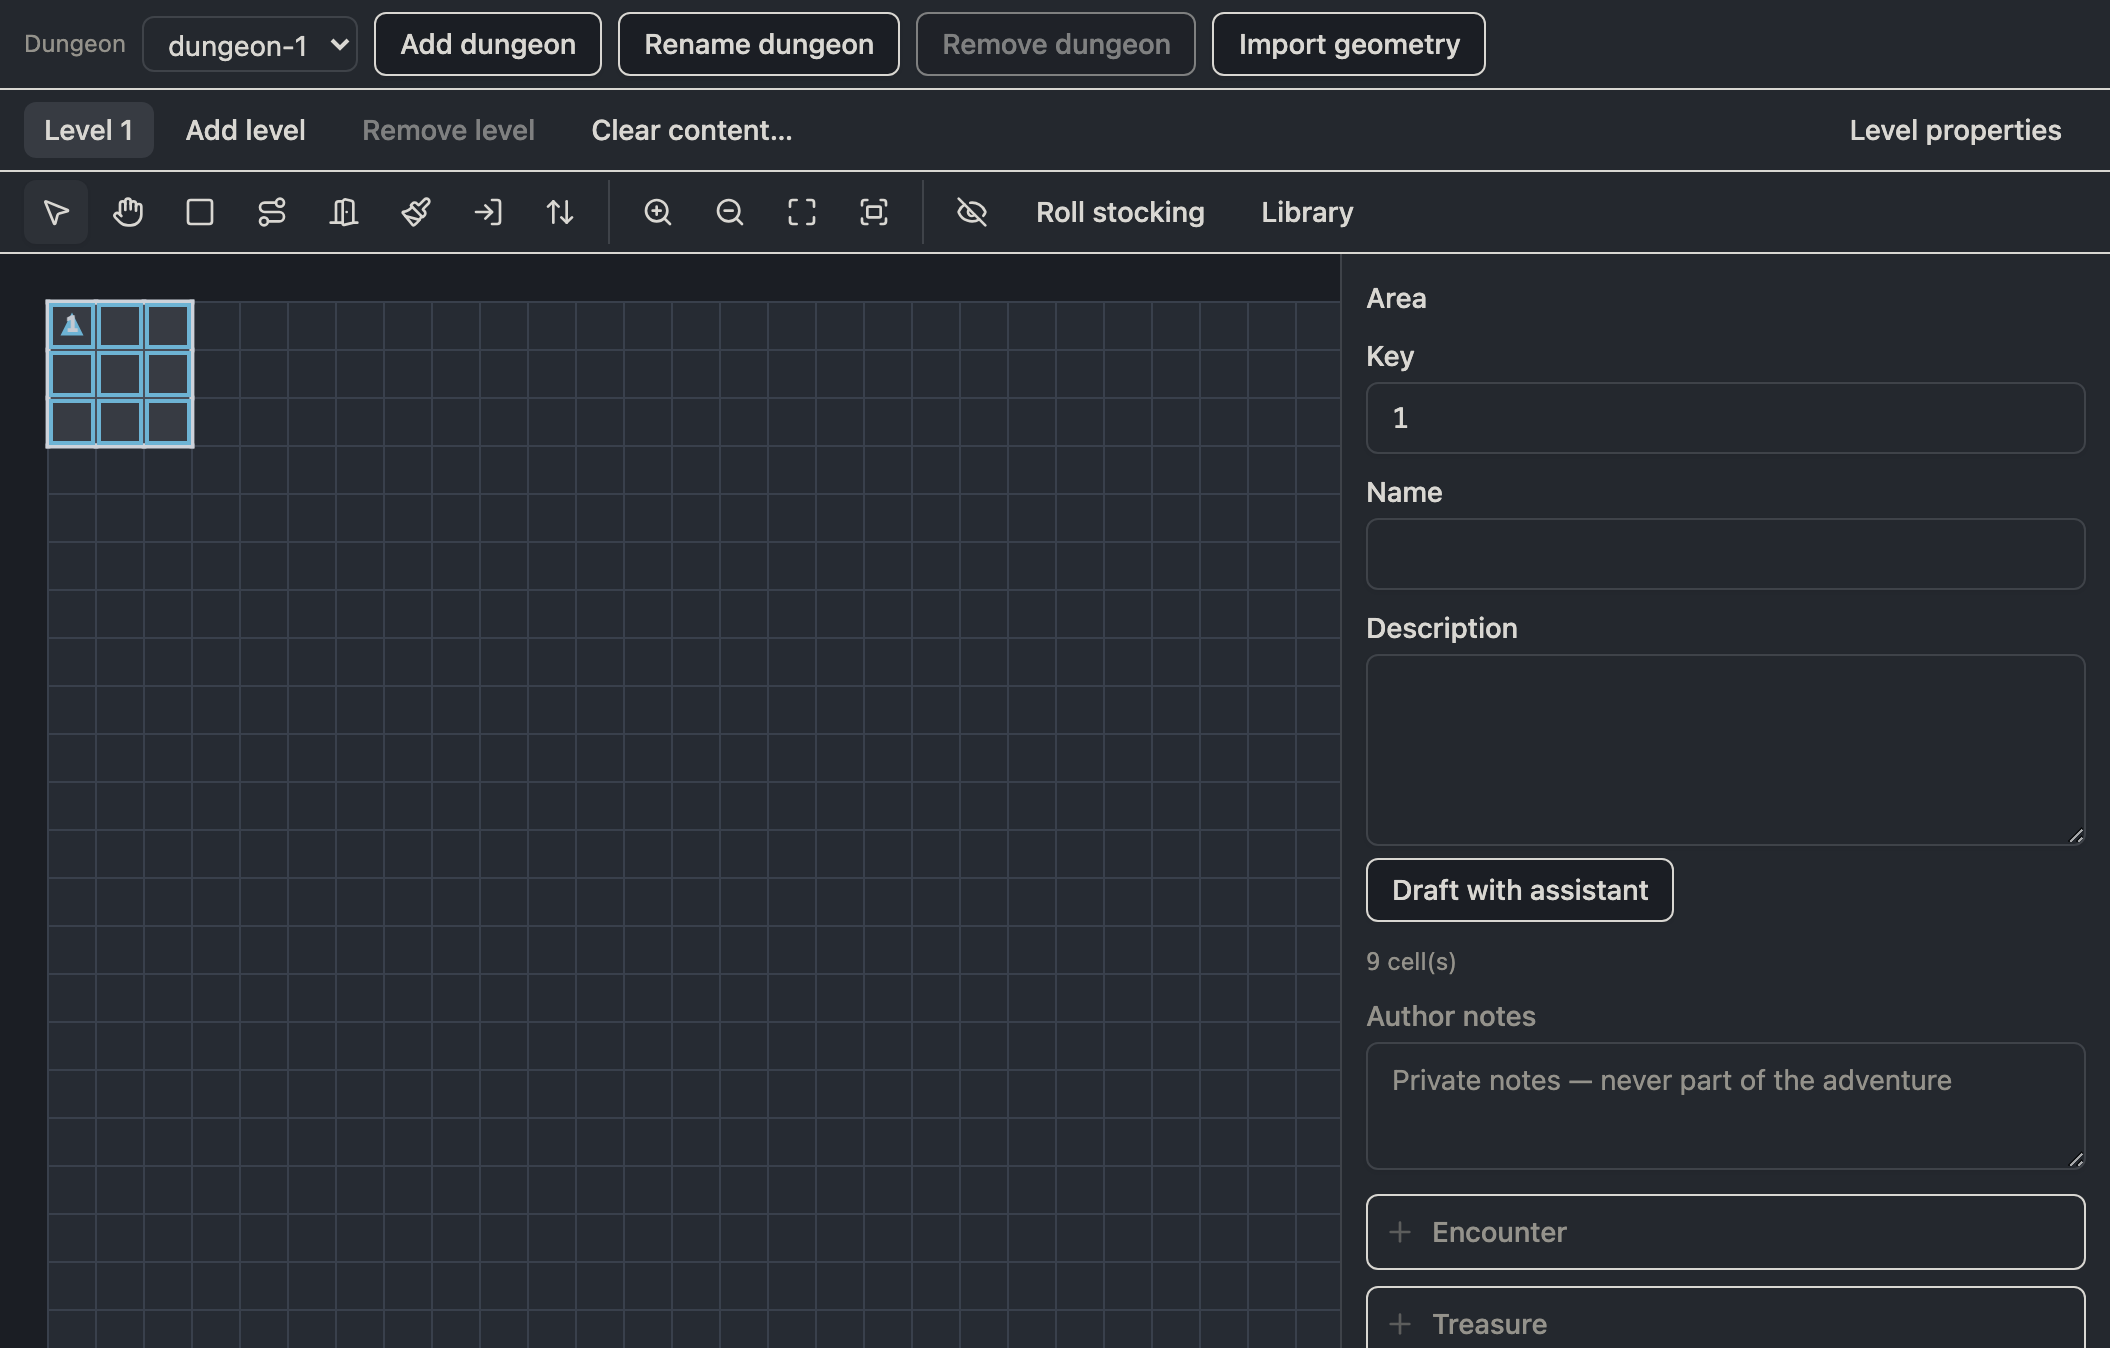
On the map, press R for the room tool and drag a rectangle. That one gesture creates a keyed area with its interior edges opened — a room, ready for content. Press V to switch back to select and click the room to inspect it.
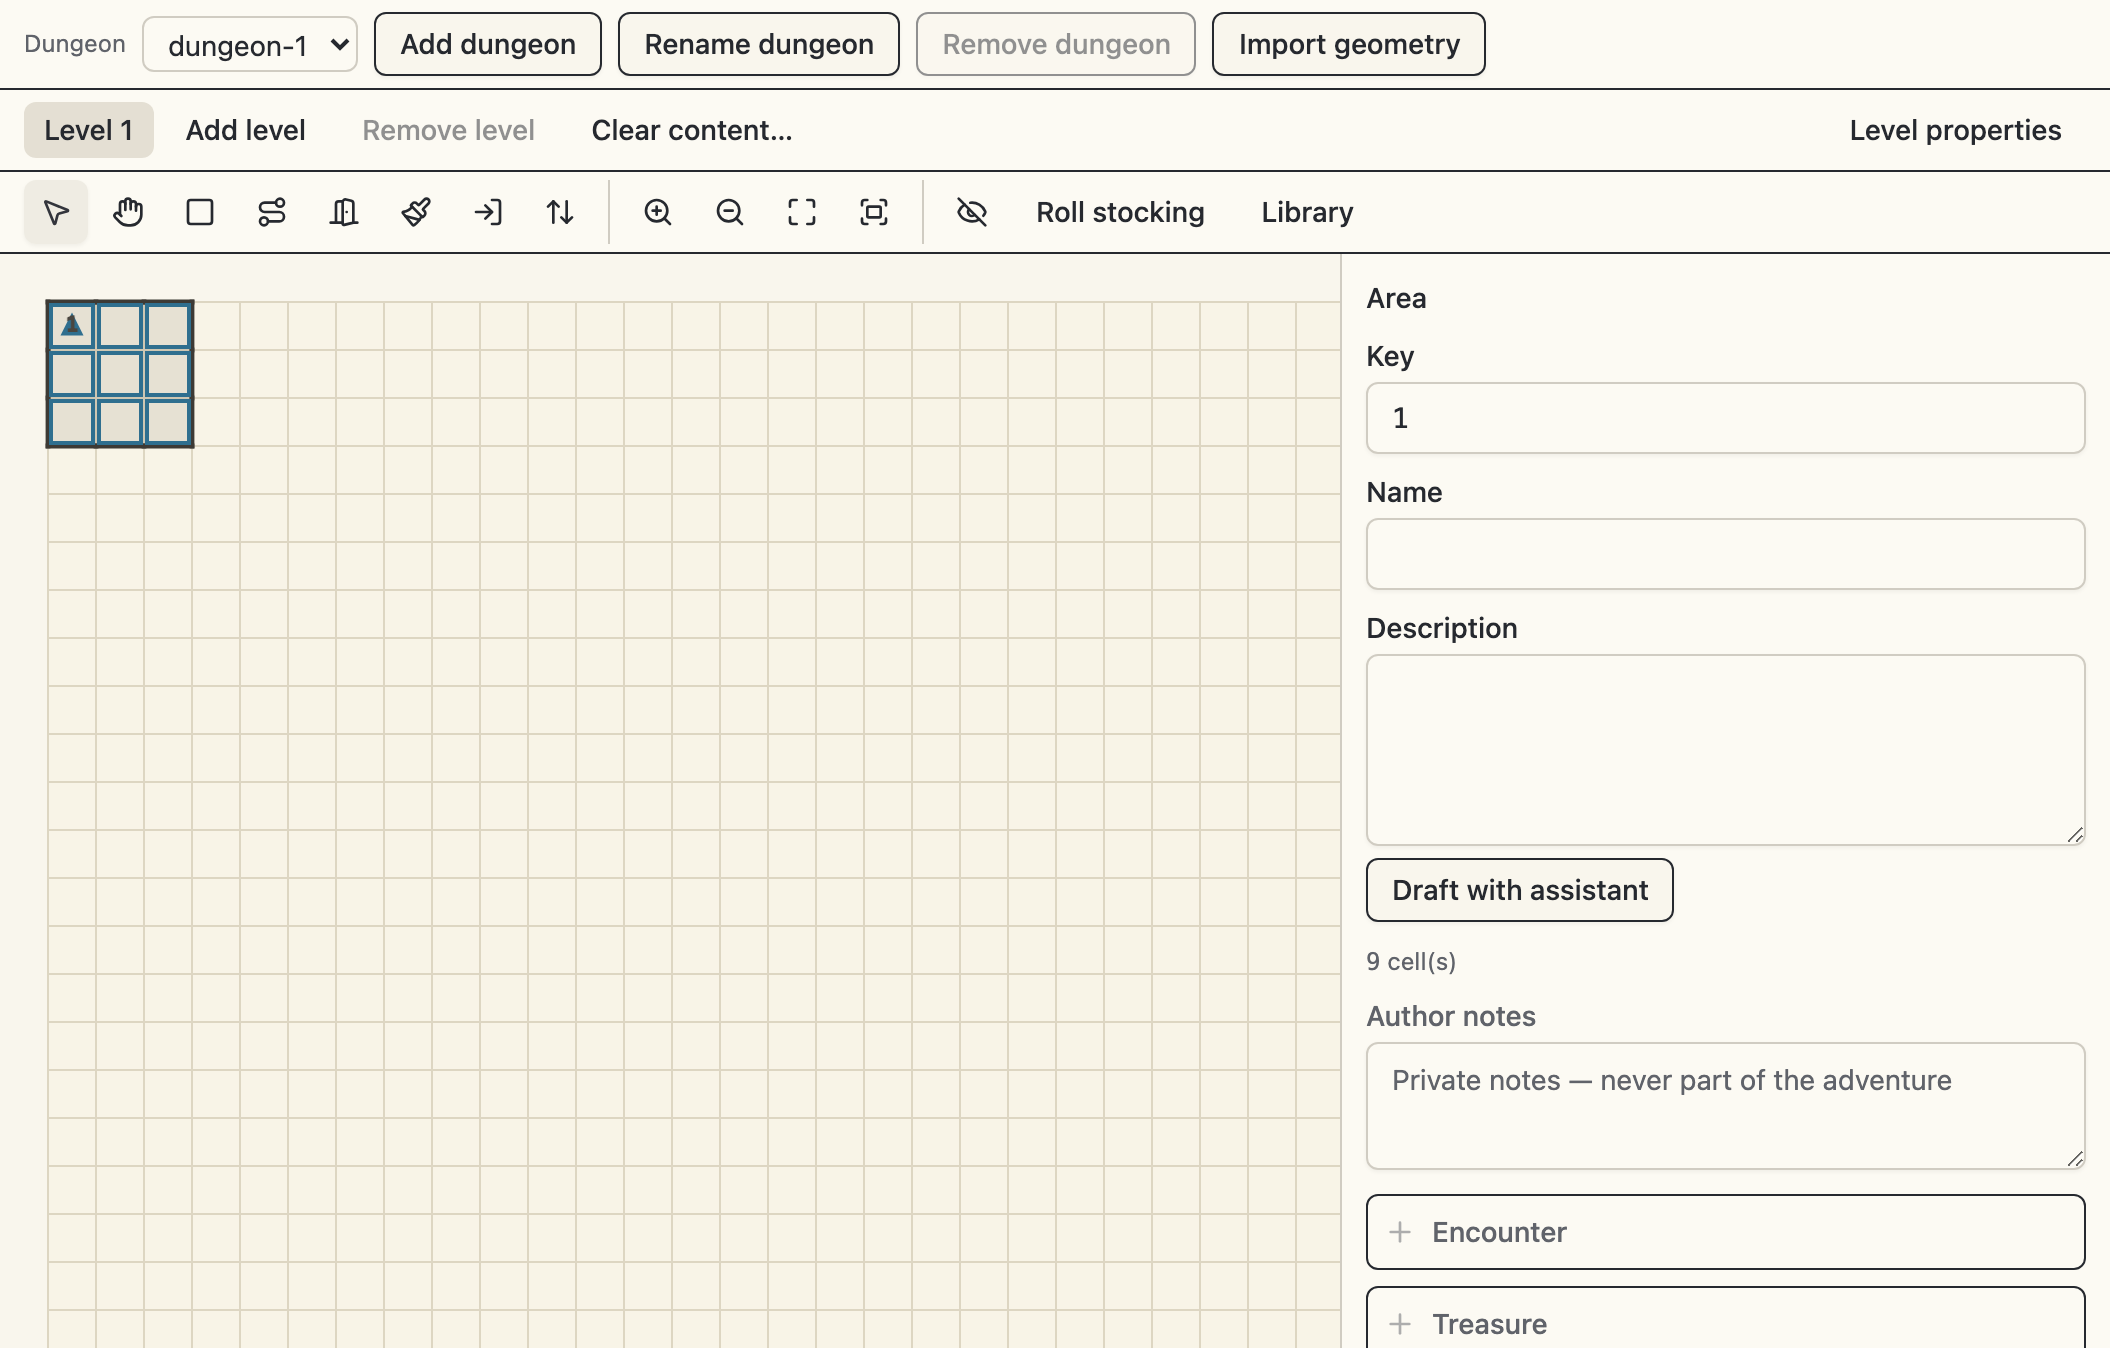
Rooms are rectangles. For an L-shaped hall, a cavern, or an alcove hung off a room you already drew, the area tool (A) paints cells into whatever shape you want — see room or area? for how the two differ.
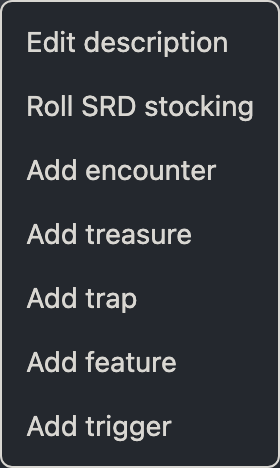
Right-click a cell of the room for the stocking menu: add a description, an encounter, treasure, a trap, or features. Each card commits through type-ahead pickers over osrlib's shipped catalogs, so you never author a dangling reference. Or let the dice do it: Roll SRD stocking fills a blank room from the same stocking procedure the game engine plays.
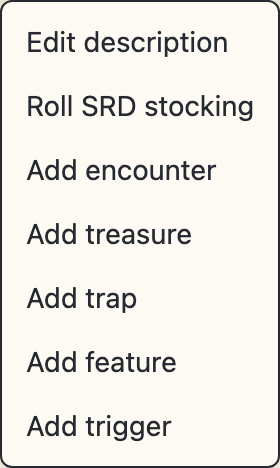
Live diagnostics run as you work. Structural lint (an unreachable area, an unpaired transition) and content validation (a dangling monster reference in a document you imported) render as navigable findings, legal while editing — only publish demands a clean document.
Export
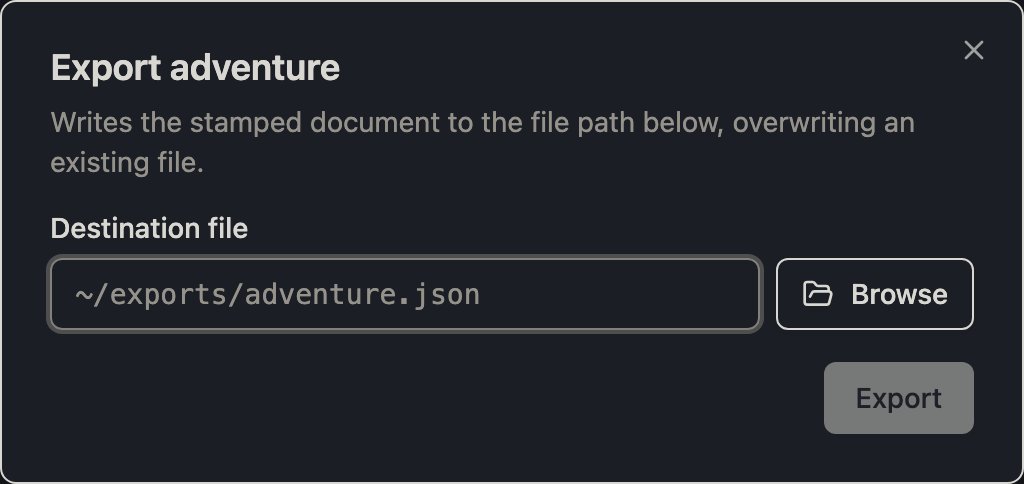
Export writes the stamped adventure.json to any path you choose — the exact document an osrlib-powered game loads. If you keep an osr-web checkout, Publish places the adventure in its adventures/ directory instead, as a live symlink or a snapshot copy — see import, export, and publish.
Where next
- Projects — the two project types and the always-saved model.
- The map editor — the full geometry tool set.
- Converting a PDF — point the editor at a module PDF and review the result.